Installation Guide
Follow these simple steps to install PharmaSync on your computer
Download Installation Package
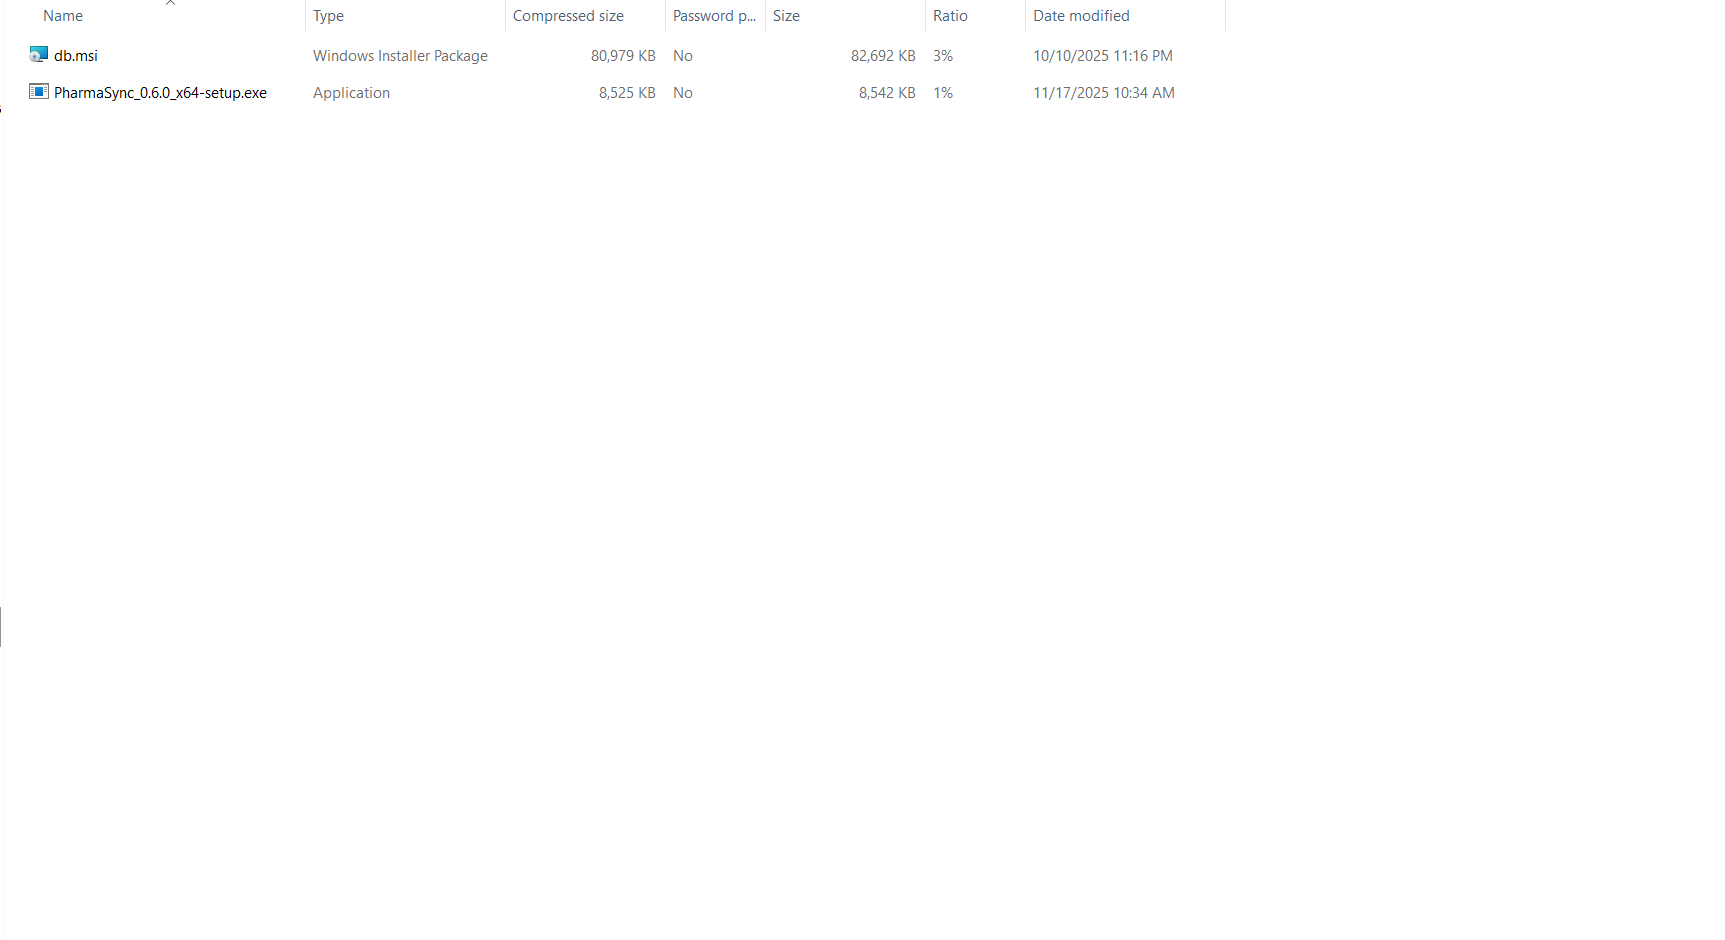
You will receive a ZIP file containing two essential files:
MariaDB Database Installation File
The database system that will store all your pharmacy data
PharmaSync Application Installer
The main application that you will use to manage your pharmacy
Step 1: Install MariaDB Database
First, you need to install the MariaDB database system. This will store all your pharmacy data securely.
- Extract the ZIP file you received
- Run the MariaDB installation file
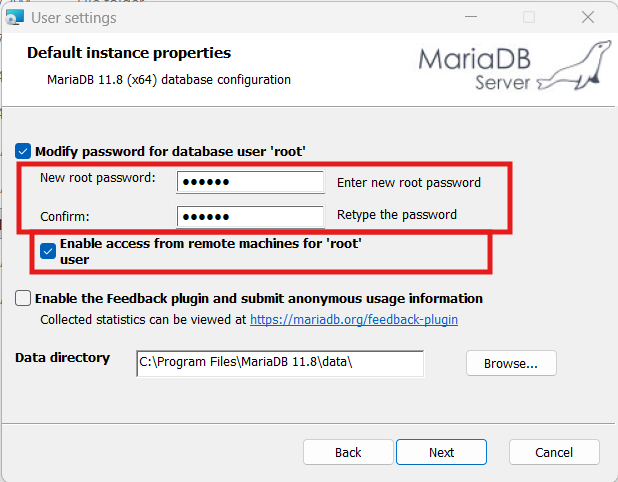
- During installation, you will be asked to set a ROOT PASSWORD
- IMPORTANT: Remember this password! You will need it later when setting up the application
- If you plan to use PharmaSync on multiple devices through your local network, make sure to check the 'Allow network connections' option during installation
- Click 'Next' on the remaining wizard screens without modification (default settings are suitable)
Network Option: Check 'Allow connections through network' if you want to access the system from multiple computers in your pharmacy
Step 2: Install PharmaSync Application
After successfully installing the database, you can now install the main PharmaSync application.
- Run the PharmaSync installation file from the ZIP package
- Follow the installation wizard
- Choose your preferred installation location
- Wait for the installation to complete
Step 3: First Launch - Enter Installation Password
When you launch PharmaSync for the first time, you will need to enter the installation password.
- Open the PharmaSync application
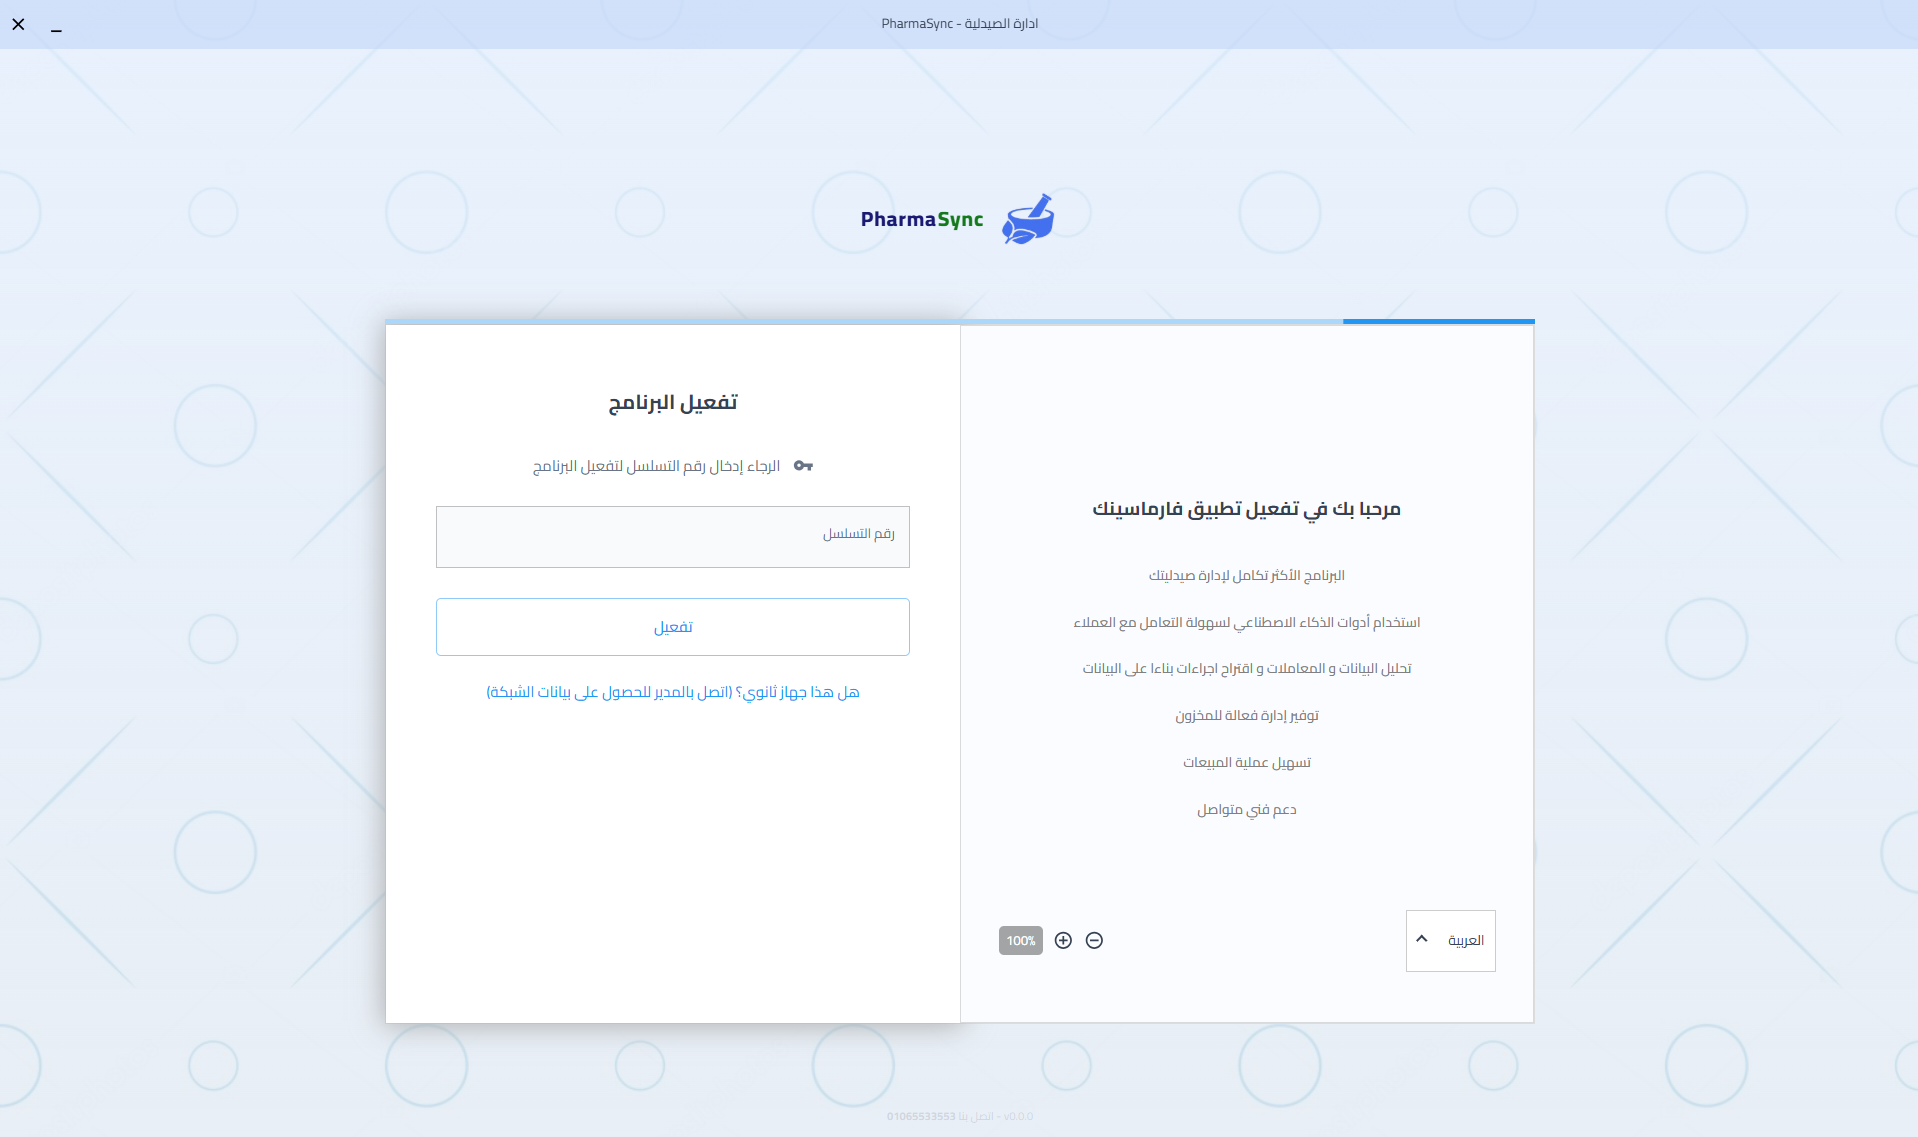
- You will see a welcome screen asking for the installation password
- Enter the password provided to you by our team
- Click 'Continue' to proceed to the next step
This password is provided to you separately for security purposes. Contact support if you don't have it.
Step 4: Connect to Database
Now you need to connect PharmaSync to the MariaDB database you installed earlier.
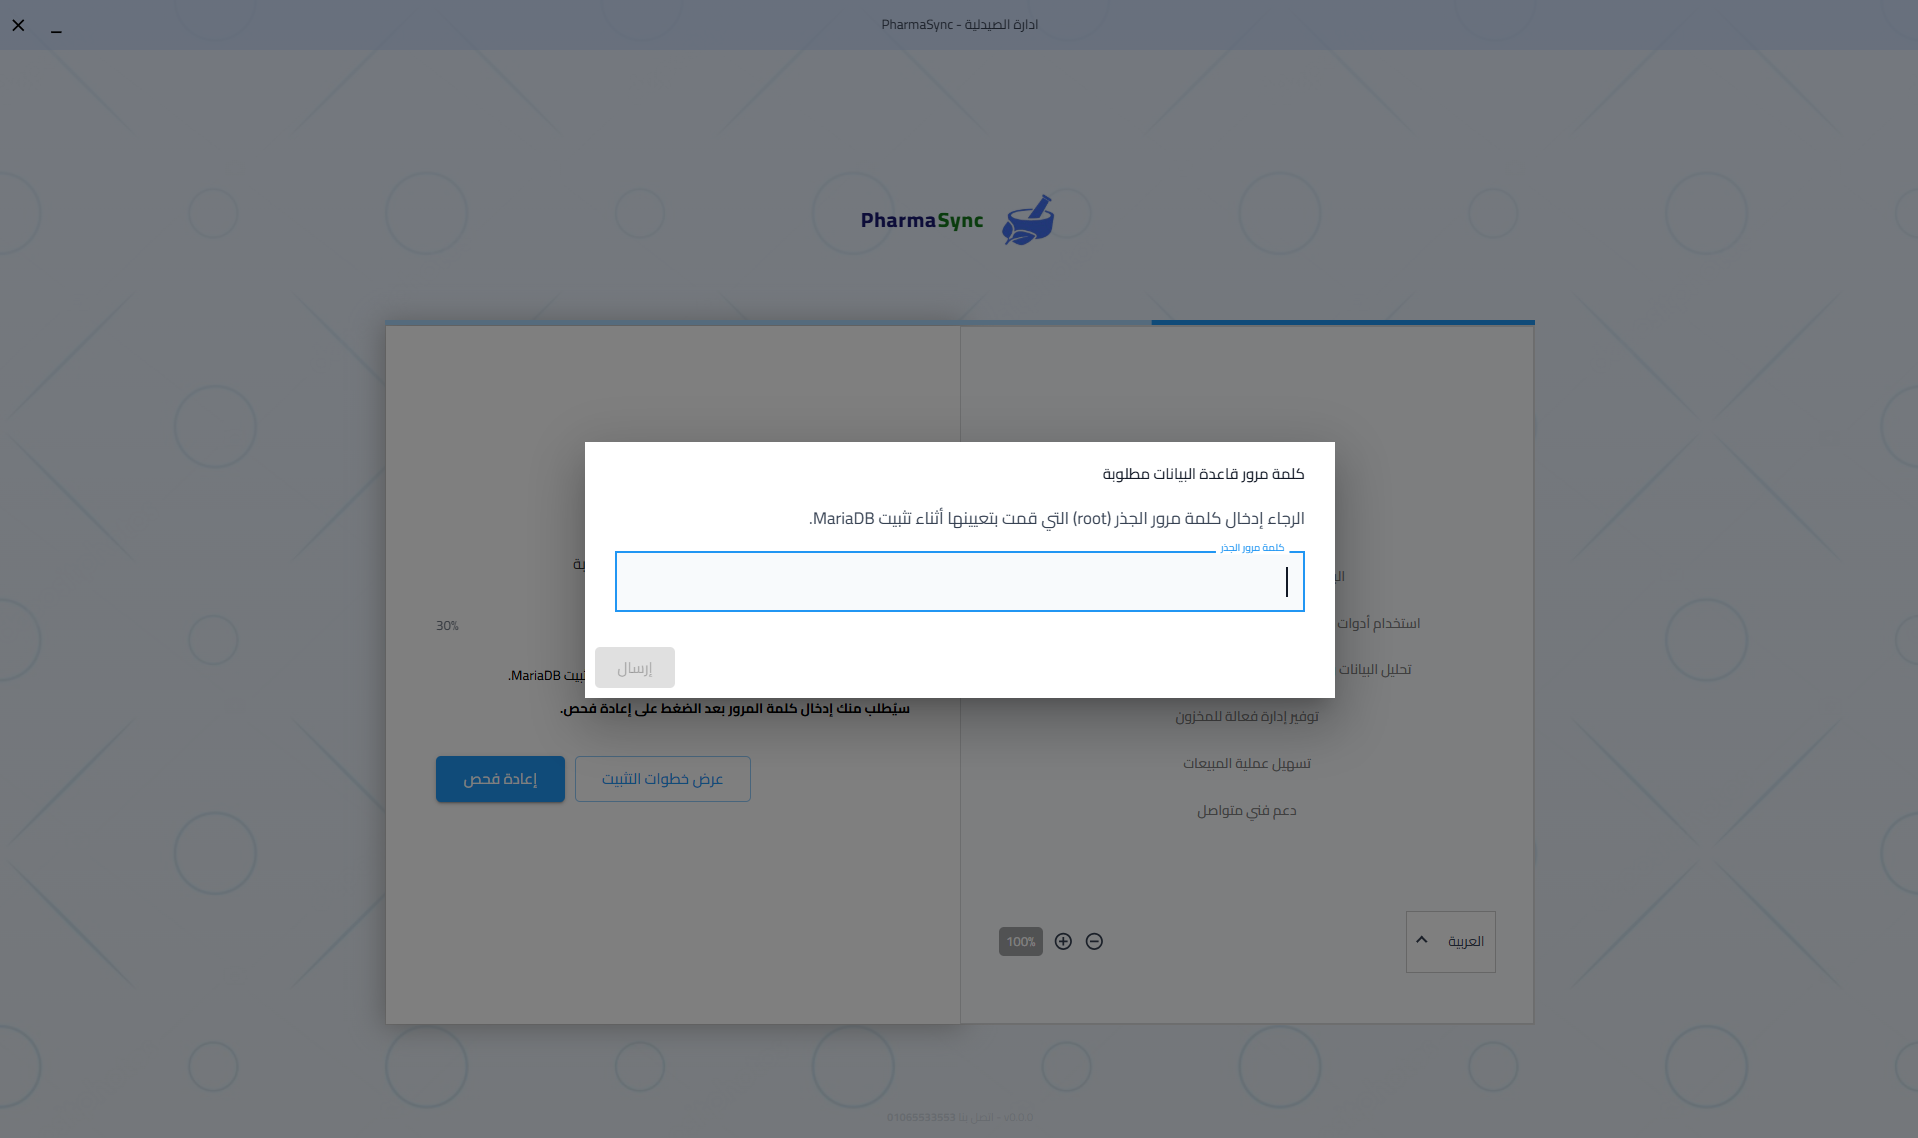
- You will see a database connection screen
- Enter the ROOT PASSWORD you created during MariaDB installation (Step 1)
If the connection fails, make sure MariaDB service is running and you entered the correct password.
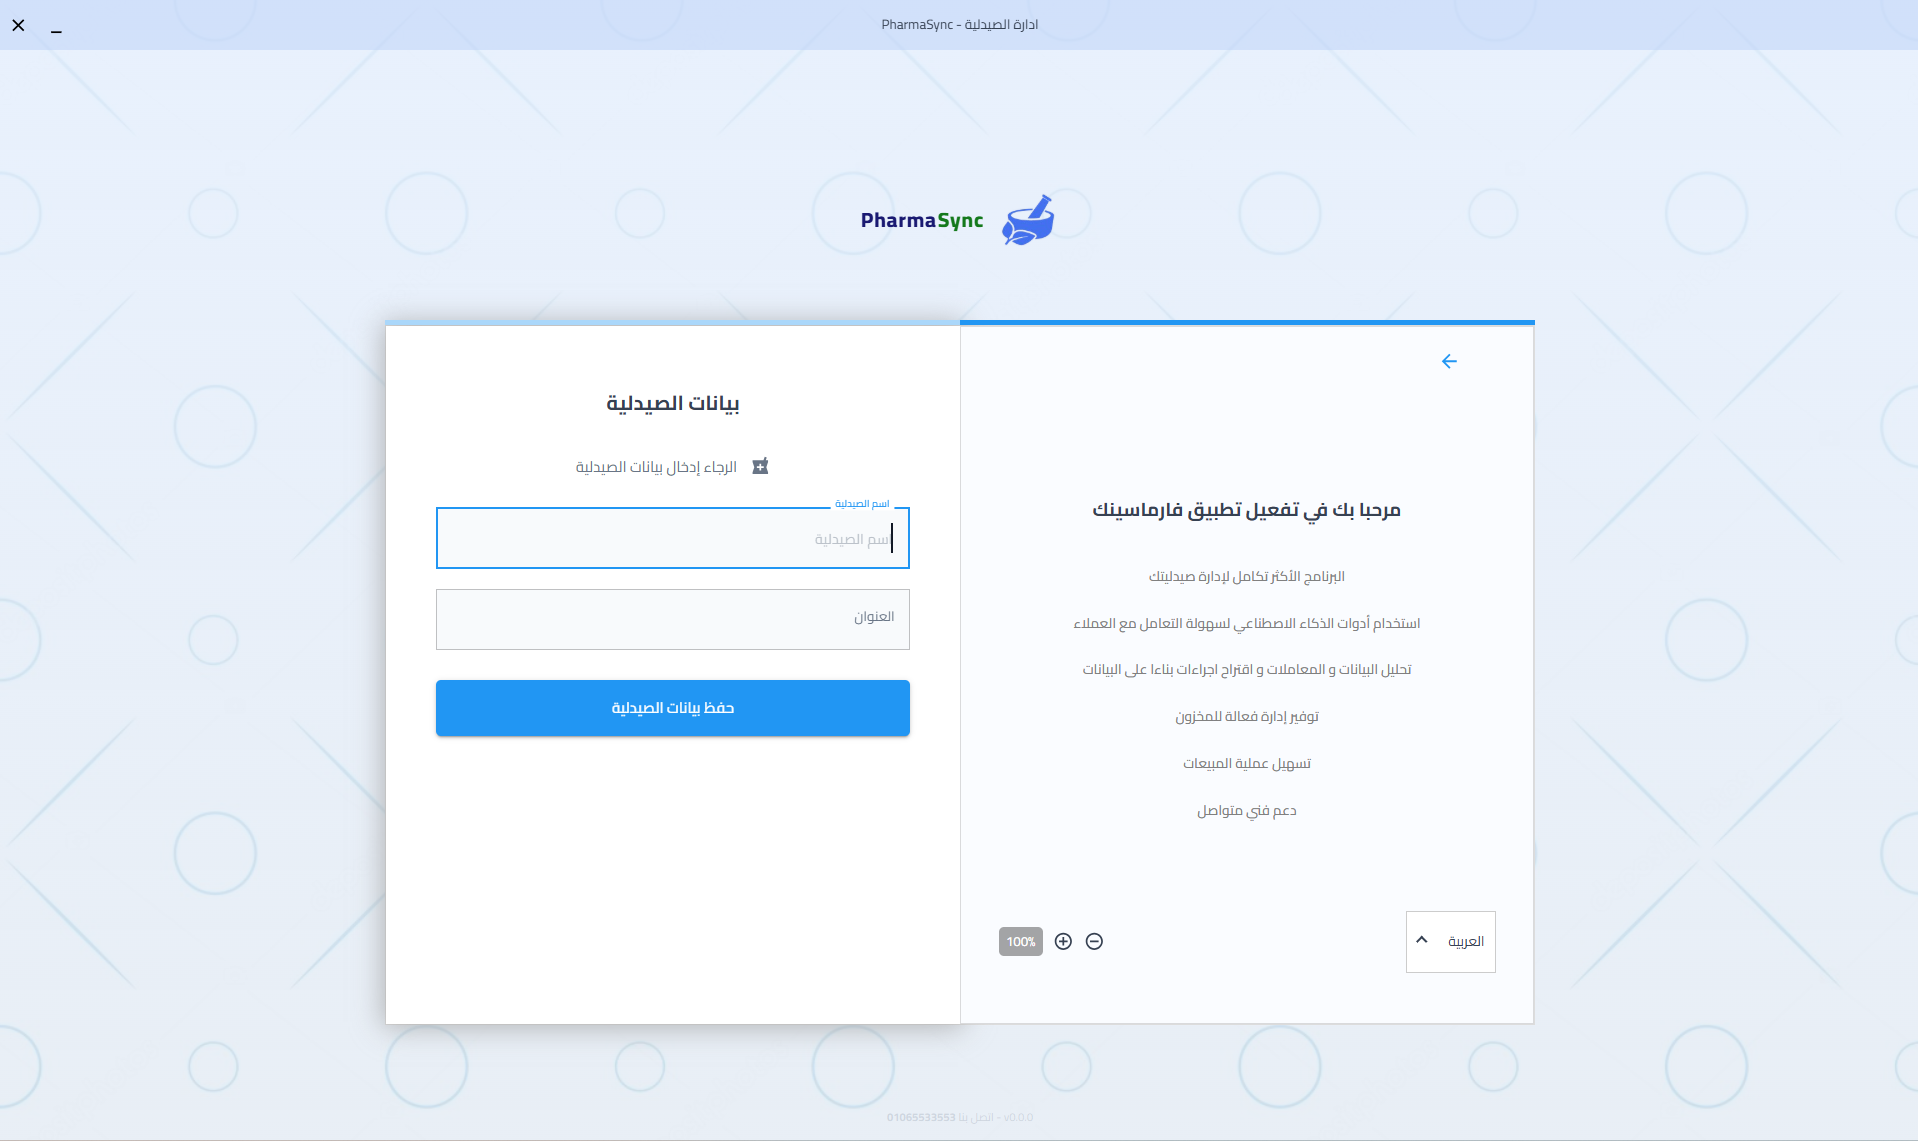
Step 5: Pharmacy Information Setup
Configure your pharmacy details and create the manager account.
Pharmacy Information
- Enter your pharmacy name
- Enter your pharmacy address
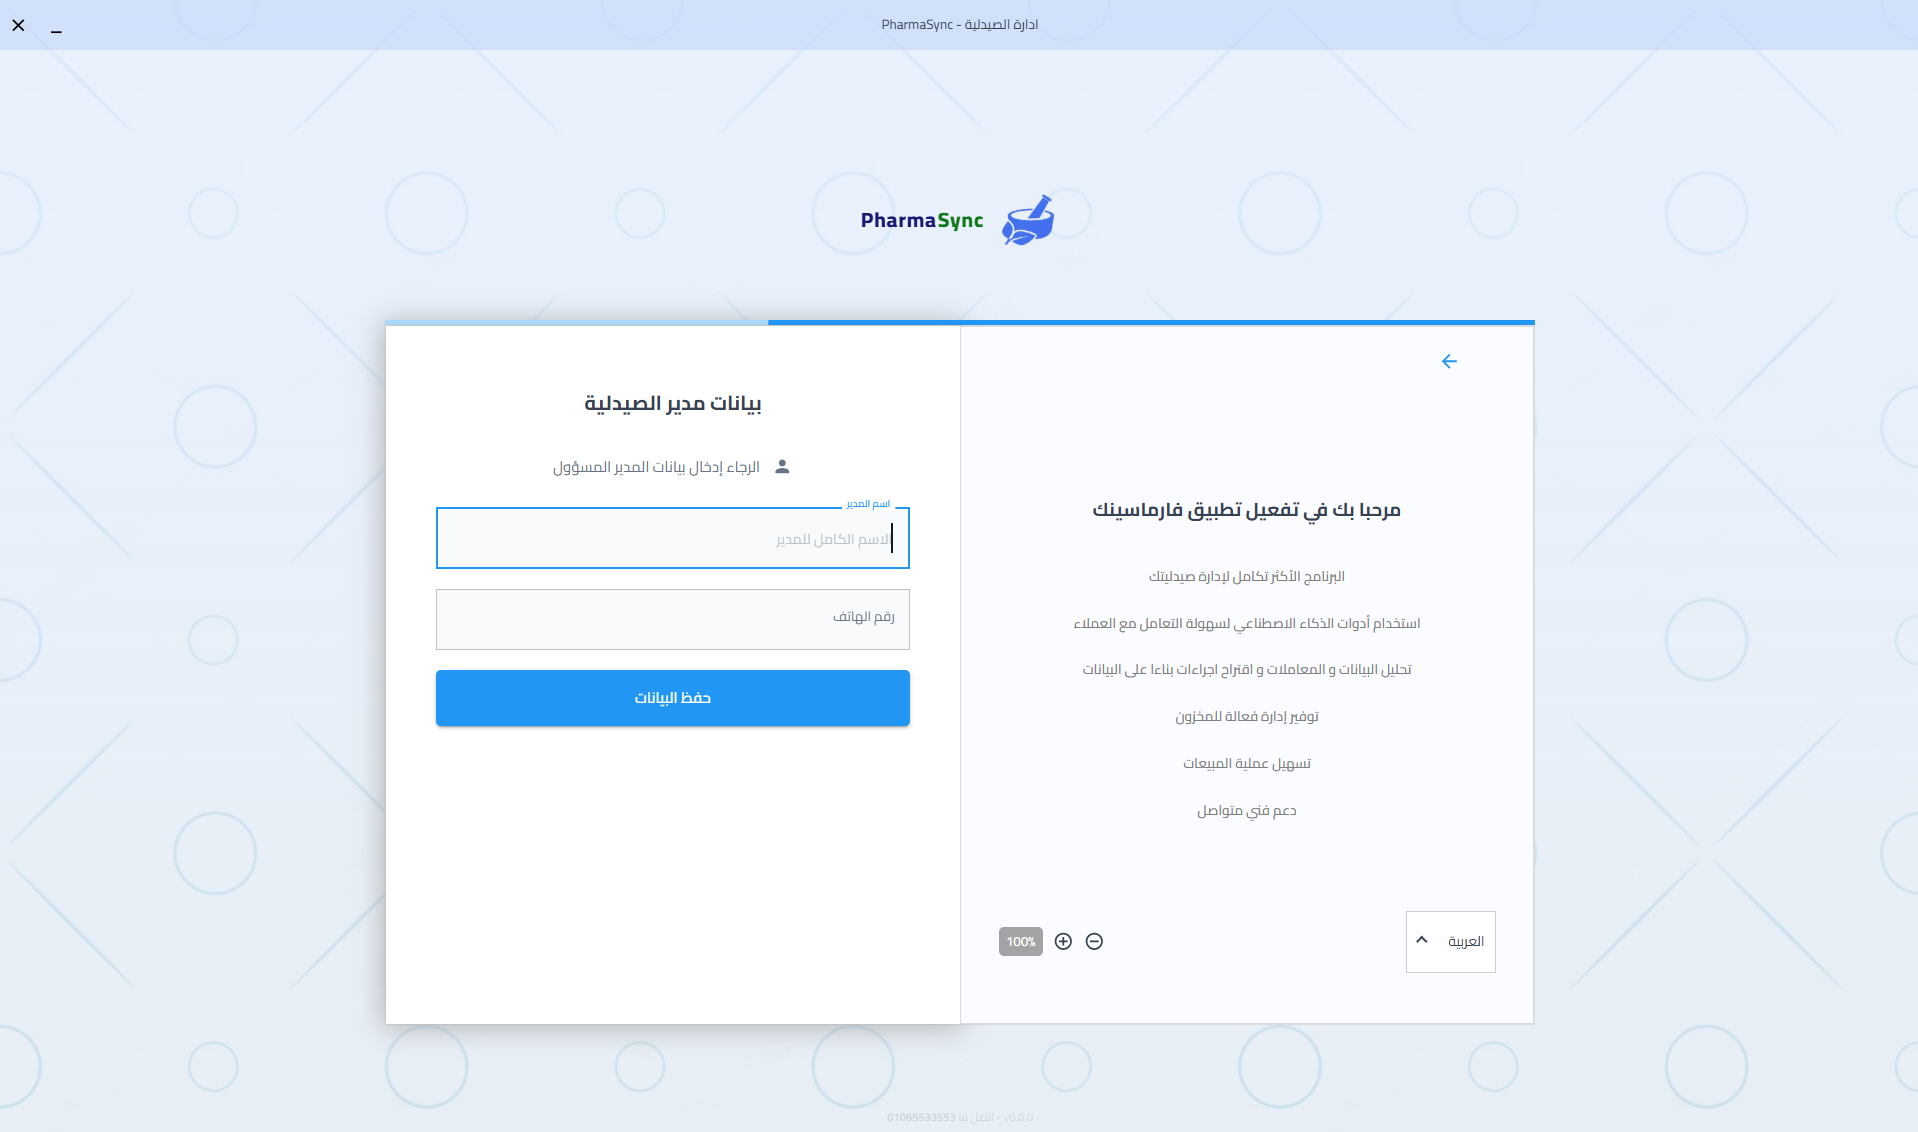
Manager Information
- Enter the manager's full name
- Enter the manager's phone number
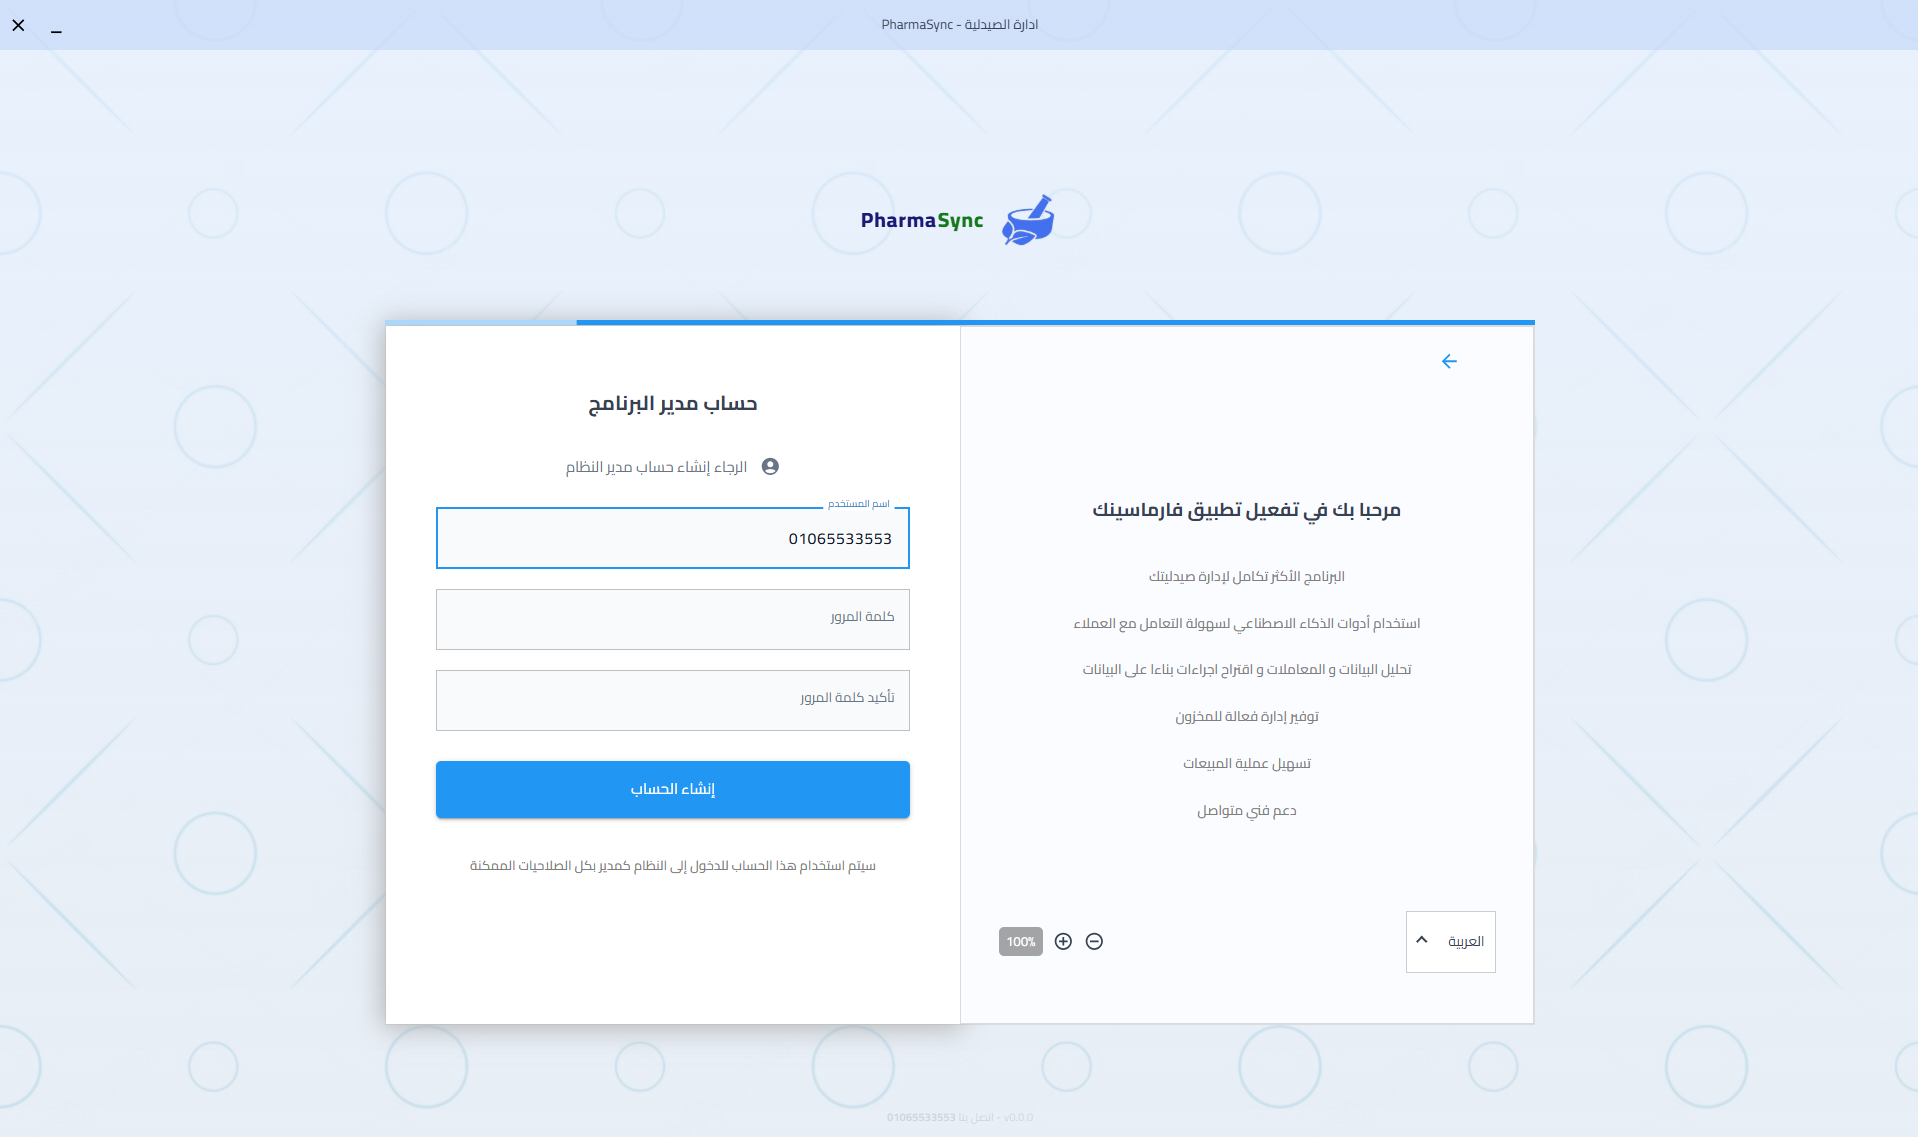
Account Information
- Username is automatically set to the phone number (disabled field)
- Set a strong password for the manager account
- Confirm the password
The manager account has full access to all system features. The phone number will be the username for login!
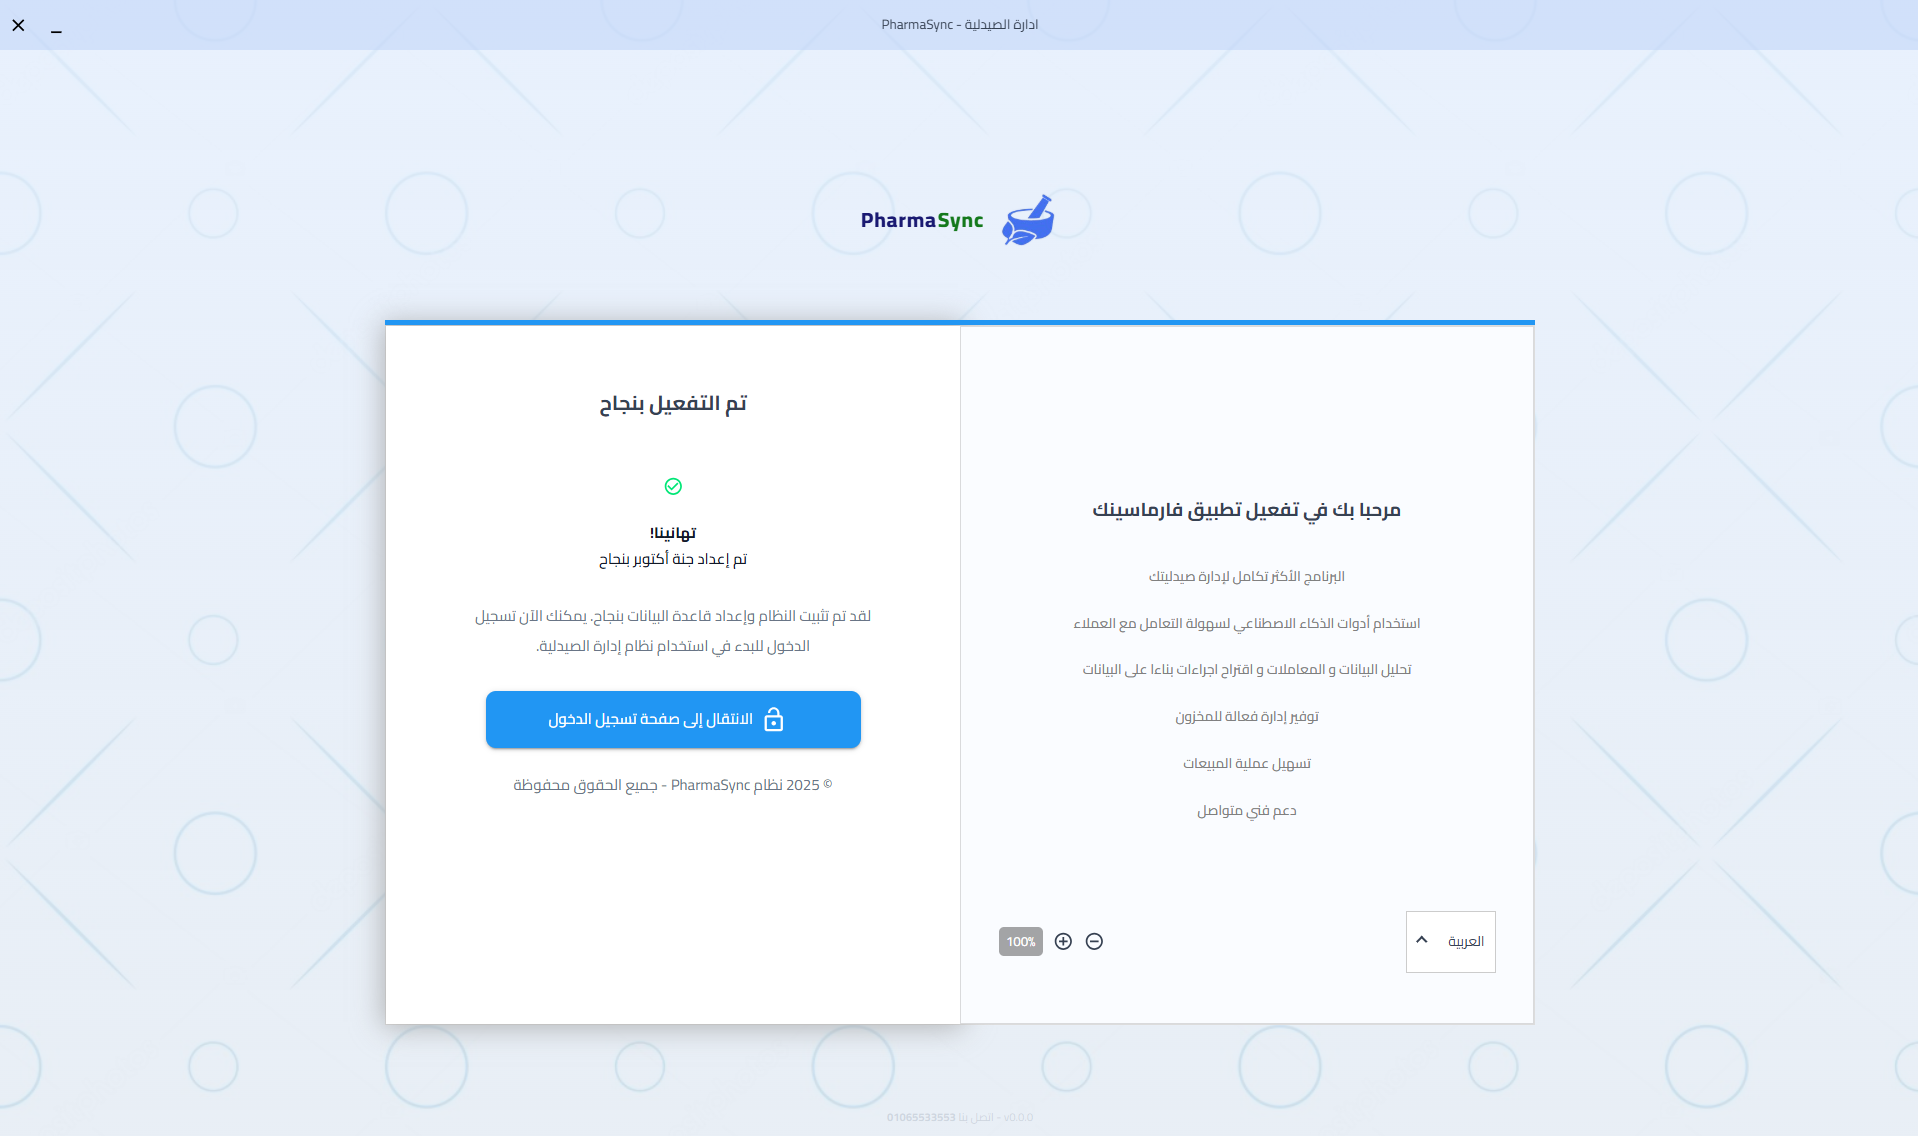
Step 6: Welcome to PharmaSync!
Congratulations! Your installation is complete. You can now start using PharmaSync.
- Click 'Go to Dashboard' to access your pharmacy management system
- Explore the various features and modules
- Start by adding your inventory and products
- Configure additional users and permissions as needed
Next Steps
- 1Download the product list and barcodes via the notification at the top
- 2Set up suppliers and clients
- 3Configure user accounts and permissions
- 4Customize system settings for your workflow
Need help? Contact our support team anytime!
Troubleshooting
Can't connect to database
Make sure MariaDB service is running. Check your root password is correct.
Network access not working
Verify that you checked 'Allow network connections' during MariaDB installation. You may need to reinstall MariaDB.
Forgot installation password
Contact our support team to retrieve your installation password.
Application won't start
Make sure you have installed all prerequisites. Try running the application as administrator.
Antivirus blocking the application
Add PharmaSync to your antivirus whitelist/exclusions. The application is safe and may be flagged as a false positive.
Firewall blocking database connection
Allow port 3306 (MariaDB default port) in your Windows Firewall. Go to Windows Firewall settings and create an inbound rule for port 3306.
Need Help?
Our support team is here to assist you with the installation process.